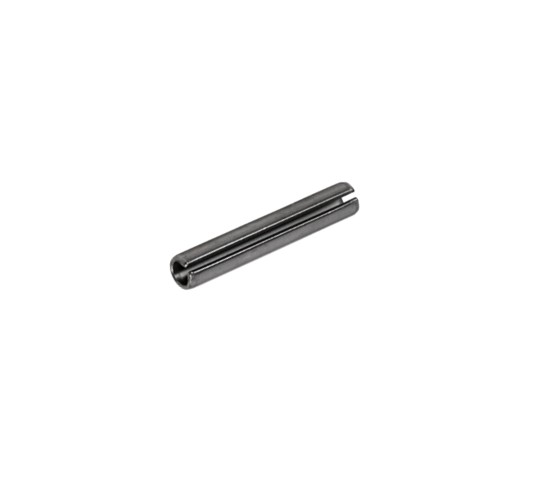
Installing a slotted spring pin (or “roll pin”) looks incredibly straightforward, but doing it wrong can result in bent pins, damaged workpieces, or a loose fit. Because these pins rely on outward radial tension to stay locked in place, precise installation is key.
Whether you are working with a hammer and punch or using automated machinery, here is the proper way to insert a slotted spring pin.
1. Match the Hole and Pin Size
Slotted spring pins are designed to be pressed into standard, plain drilled holes. Because the pin itself is manufactured slightly oversized, never drill the hole larger than the nominal diameter of the pin.
- For a 1/4-inch pin, drill a standard 1/4-inch hole.
- The pin’s built-in elasticity will handle the compression, creating the tight friction-fit needed to stay secure.
2. Chamfer the Hole Entrance (Highly Recommended)
While slotted spring pins feature bevelled or chamfered ends to help guide them into place, prepping the hole makes a massive difference.
- Use a deburring tool or a countersink bit to create a tiny bevel at the entrance of the hole.
- This smooth transition prevents the sharp edges of the pin from shaving metal off the inside of the hole during insertion, which can ruin the tight fit.
3. Choose the Right Tools
- For Manual Installation: Never use a standard flat-face punch. You need a roll pin punch (or spring pin punch). These specialty punches feature a small, raised ball or pilot point in the center of the tip. This point seats perfectly inside the hollow center of the pin, preventing the punch from slipping off and keeping the driving force perfectly centered.
- For Production Environments: Use an arbor press or a pneumatic press equipped with a dedicated pin-driving mandrel.
4. Position and Align the Pin
Align your workpieces so the pre-drilled holes are perfectly concentric. Place the chamfered end of the pin into the hole.
- Orientation Matters: If the pin will be subjected to a specific directional load, orient the longitudinal slot away from the direction of the force (typically 90 degrees to the load vector) to maximize the pin’s shear strength and structural integrity.
5. Drive the Pin Home
- Manual Method: Hold the pin straight with a pair of pliers or a pin starter tool. Tap the pin gently with a ball-peen hammer until it takes hold in the hole. Once it supports itself, place your roll pin punch over the head of the pin and drive it straight down with firm, consistent hammer blows.
- Press Method: Lower the press ram smoothly. Ensure the force is applied completely perpendicular to the workpiece to prevent bending the pin.
6. Verify Final Depth
Drive the pin until it sits exactly where you need it.
- For a standard flush fit, the pin should sit slightly below the surface of the host material (typically about 0.5 mm to 1 mm deep).
- If the pin is serving as a pivot or hinge, ensure it extends equally out of both sides of the moving component.